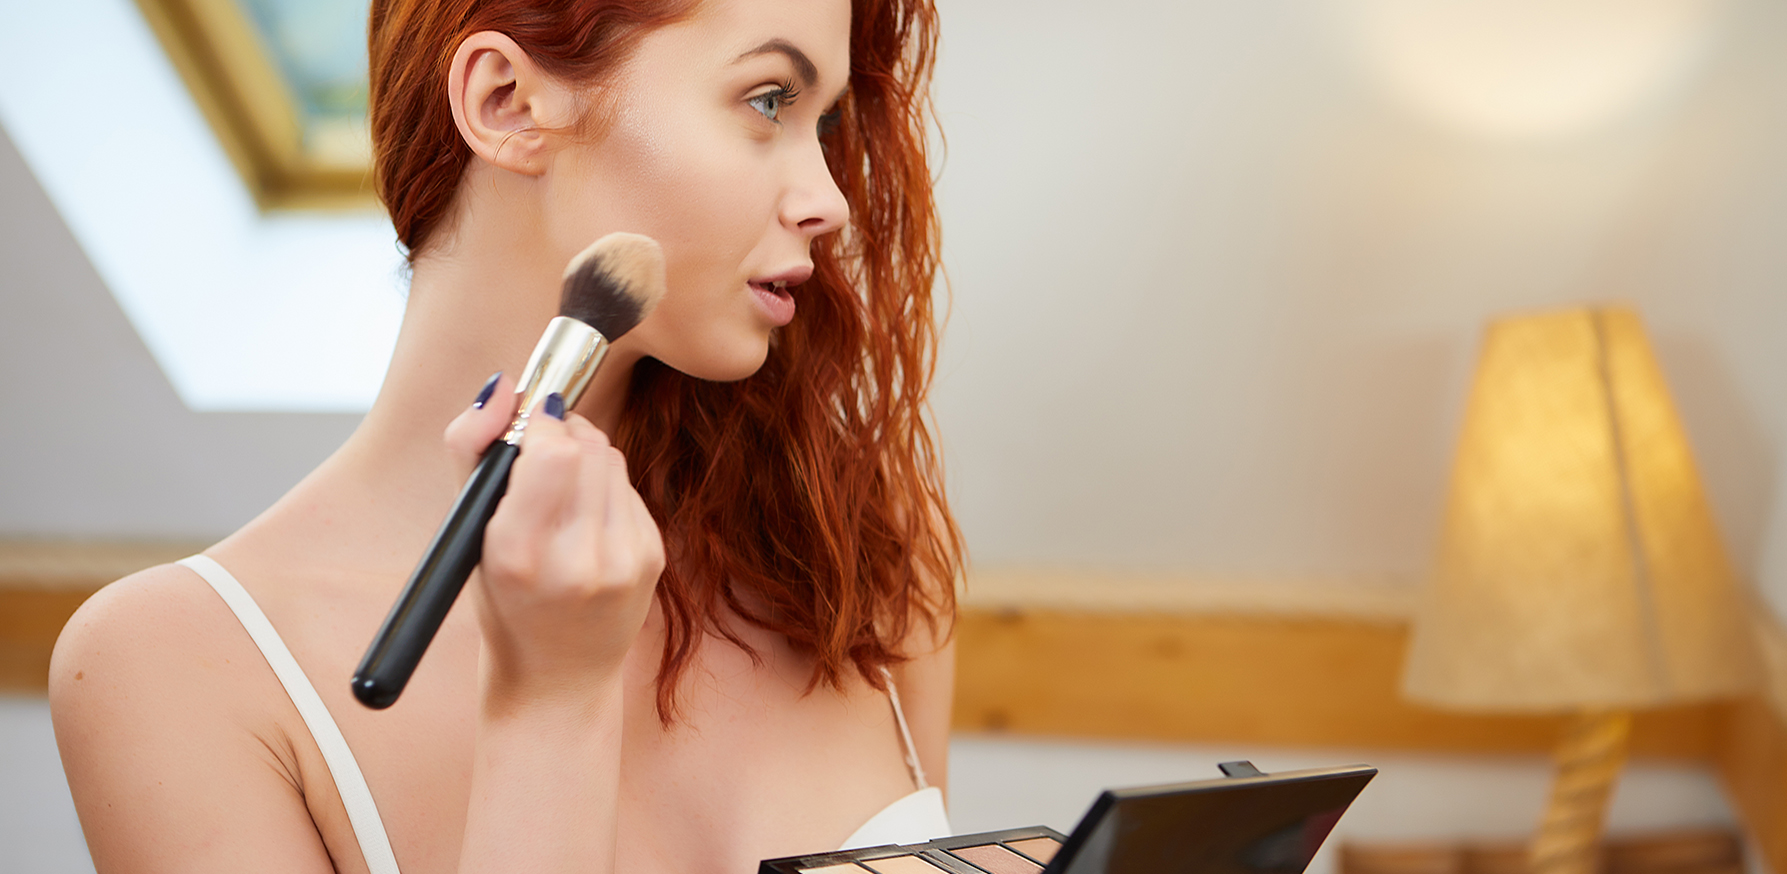
No Need for Facial Fillers – Lift Your Face Naturally Using Regular Makeup
Please follow and like us:

Makeup, it’s something we all (or most of us) apply, yet somehow we can all look so different from each other in it. Even if you use the same makeup products as a Makeup Artist did in their tutorial, you can still fail to achieve the same results. Why does that happen? Why can’t makeup look the same on everyone?
Well, it all boils down to one thing: application technique.
Professional Makeup Artists use amazing techniques acquired through years of experience and practice that can even make makeup look undetectable on the skin. However, some of the latest makeup techniques are capable of achieving even greater milestones – a natural, non-surgical face-lift.
I was intrigued by this makeup look when I saw a YouTuber named Smitha Deepak use a few techniques to create a fresh, flawless, and lifted look on her face. Here is how she did it.
You may think that this technique is for the younger audience who do not have saggy skin or hollowing bones, to begin with. However, that is false. An equally beautiful, mature woman in her 40s used similar techniques to achieve a naturally lifted look on her face. The results: mind-blowing!
Like the evolution of the beauty industry from heavy glam to natural makeup – this technique also supports a similar idea. It features the use of minimum product while focusing on the correct placement.
You will need a concealer one or two shades lighter than your skin tone to implement this technique. Some people leave out their regular concealer and directly go in the lighter one, while others with darker pigmentation around their eyes prefer concealing or correcting first before highlighting using this technique.
A translucent powder would be an ideal choice for setting the makeup.
Dust some powder wherever you applied the concealer. Let it sit for a while on the areas that tend to get oily throughout the day – dust it off after a few minutes.
To enhance the face-lift even more, tie your hair in a tight bun or a high ponytail. This will naturally stretch the face from the ears, resulting in a tightened, more uplifted cheekbones and jawline.
TA-DA! Do you like your non-surgical and natural face-lift?
YOU MAY ALSO LIKE:
