Festive Nail Art Ideas To Get You In The Holiday Spirit
‘Tis the season. Well, almost, but it is never too early to get the Holiday spirit going! Nail art fans will agree that there is no better way to ring off the Christmas season than with a festive manicure!
Pinterest is overflowing with inspiration pictures, and with so many options, it can be hard to choose the perfect festive nails. But, we’ve got you! Here are our two all-time favorite Holiday nails that you can recreate! No matter if you are doing your nails at home or at the nail salon, you’ll love these designs!
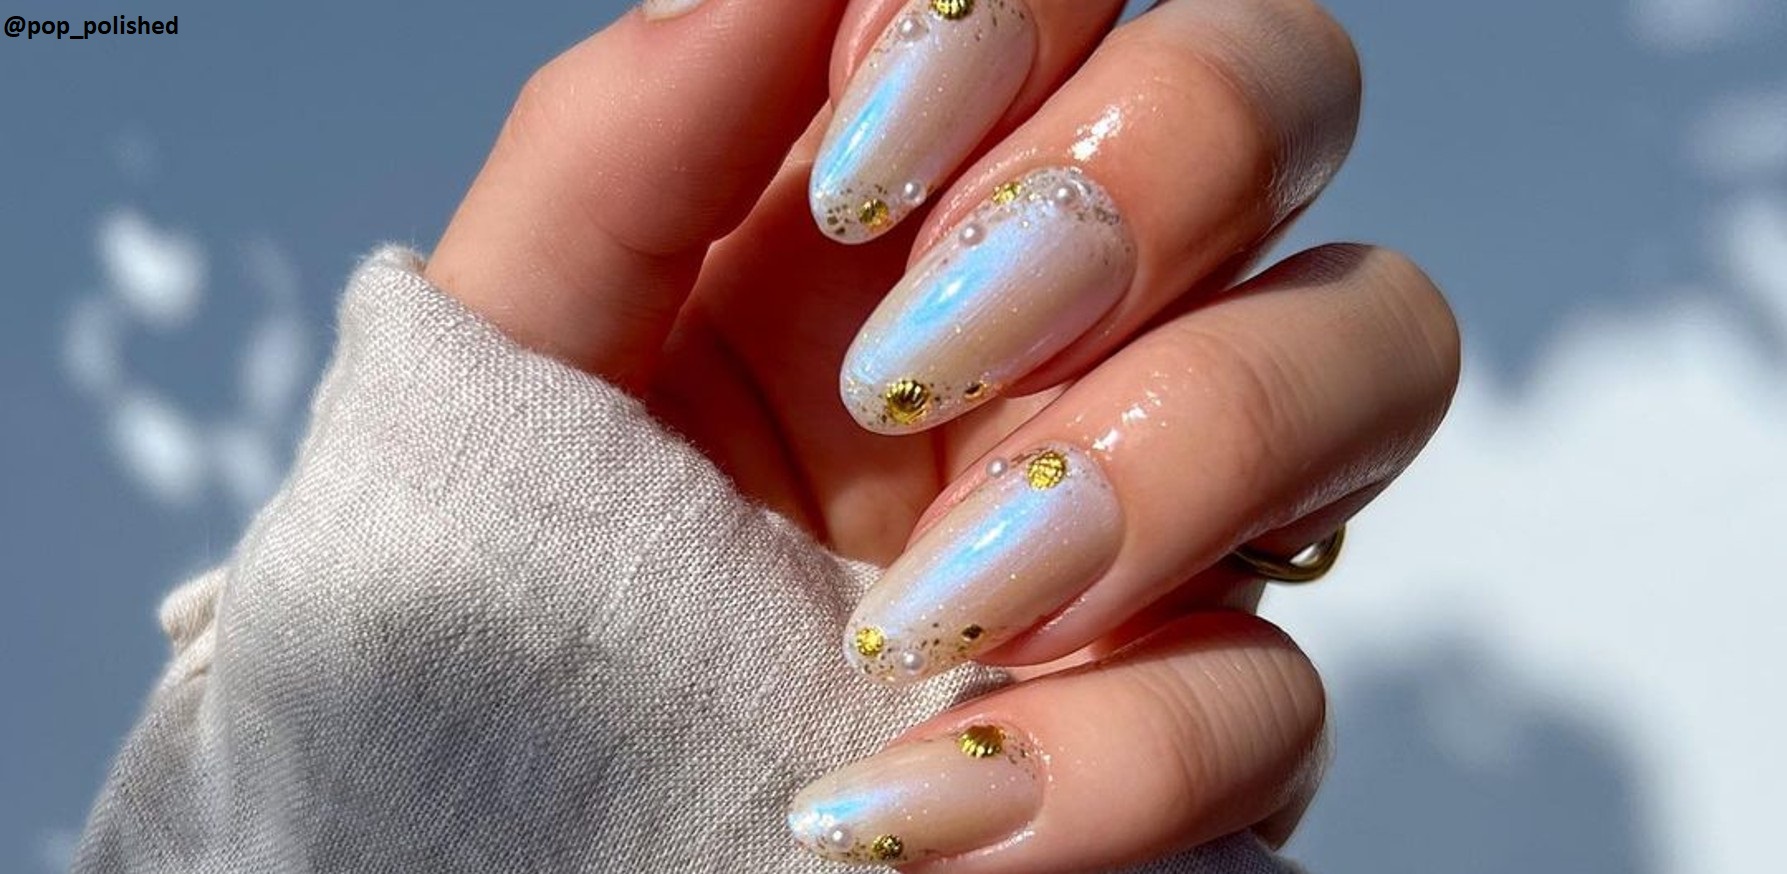
Glitter nails
Glittery, sparkly nails are a simple, but effective holiday nail trend.
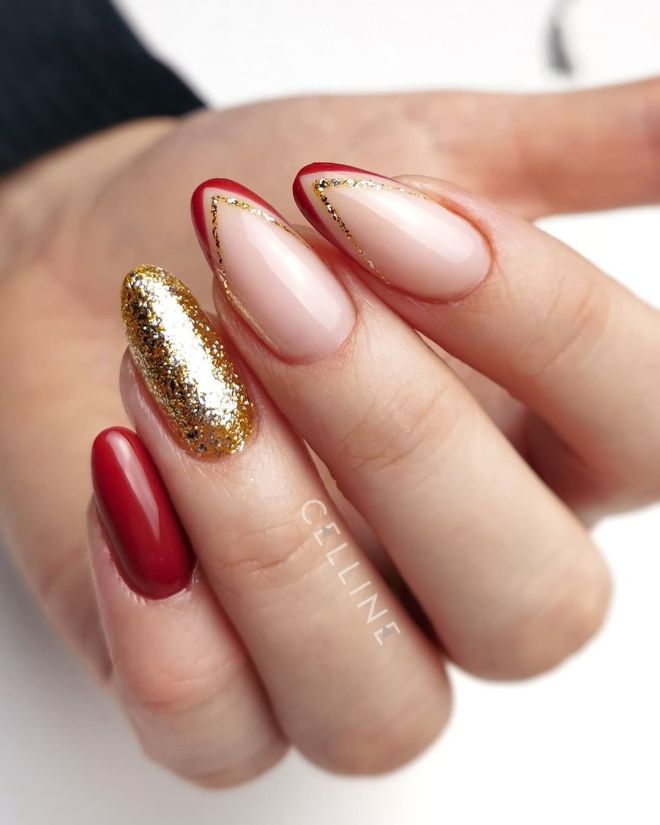
One glitter nail design you can never go wrong with is a sparkly French manicure! It is not only easy to do (even at home) but it is also a timeless classic that looks great on everyone.
To create a sparkly French manicure, you will need:
- base coat to improve the longevity of your manicure
- nude polish to act as your base color
- glitter nail polish
- top coat
- tiny nail art brush
First apply one thin coat of your base coat. The base coat will act as an adhesive between your natural nail and nail polish. This prevents chipping and peeling, which means your manicure will last longer!
After your base color is dry, you want to apply one to two thin coats of your nude polish. Try to apply the polish as evenly as possible.
The third step to your perfect holiday manicure will require a bit of time and patience. But don’t worry, it will be worth it in the end!
So, grab the nail art brush and put a little dot of glitter polish onto a piece of paper or aluminum foil. Dip the brush into the nail polish and start drawing the classic French manicure smile line.
The last step is to apply a thin layer of your favorite top coat to keep your design shiny.
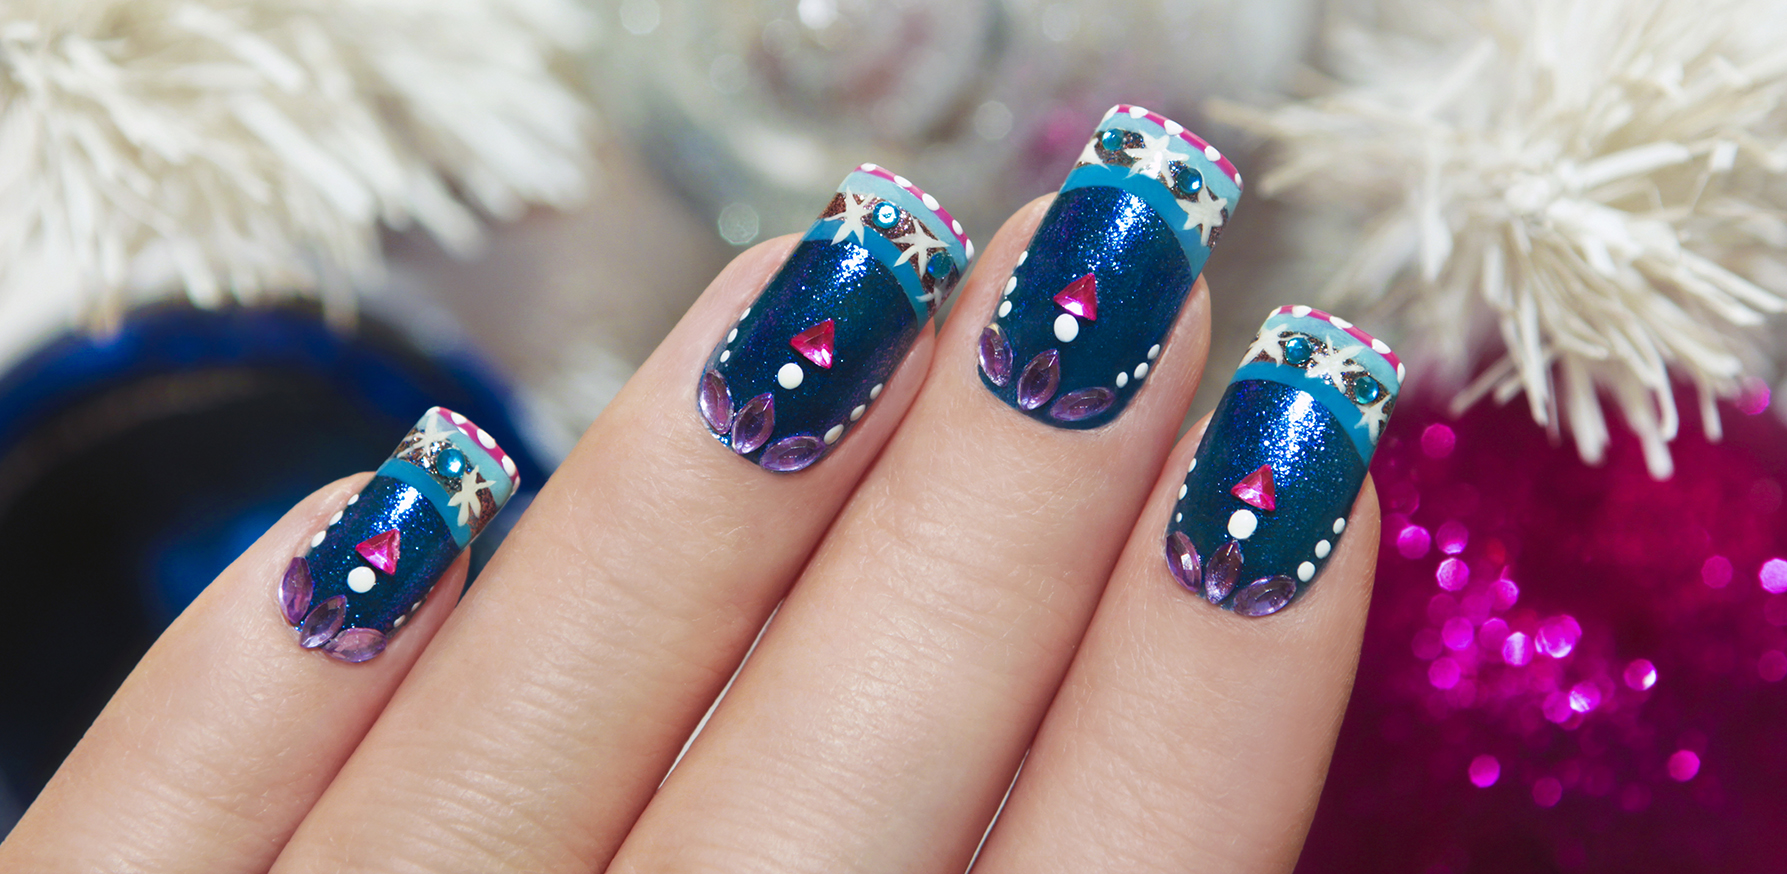
Snowflake nails
To create snowflake nails, you will need:
- base coat
- opaque nude nail polish (or any other color of your liking)
- white nail polish
- toothpick or nail art brush
- top coat
The first step is to apply one thin coat of base coat and two thin coats of the nude nail polish. Let the polish fully dry between coats.
The second step is where the fun begins – we are drawing the snowflakes! It is up to you to decide on which nails to draw the snowflakes. You can do just one accent nail, or draw them on all of your nails!
To draw the snowflake, dip the toothpick or brush into the white polish and start by painting thee evenly spaced intersecting lines to create a star shape. Then add two more lines (like branches) at the end of each line. If you want, you can also add two small branches on every second line. Add top coat and voilà! Your snowflake manicure is done!
YOU MIGHT ALSO LIKE
How to Incorporate Microdosing into Your Skincare Routine