DIY Gel Manicures: Everything You Have To Know Before Doing It On Your Own
Who doesn’t love a good gel manicure? I know that I do. There are so many benefits to them – it’s quick, the nail color last for a couple of weeks, and it looks much more natural than acrylics. If there is one downside it is the price. Even though gel manicures are considerably more affordable than acrylics, the cost of maintaining them can quickly add up. But who says that you can’t get the same professional-looking results at home? DIY gel manicures are much easier to achieve than you may think. So let’s dive in and go over everything you need to know before trying a DIY gel manicure at home.
What is a gel manicure?
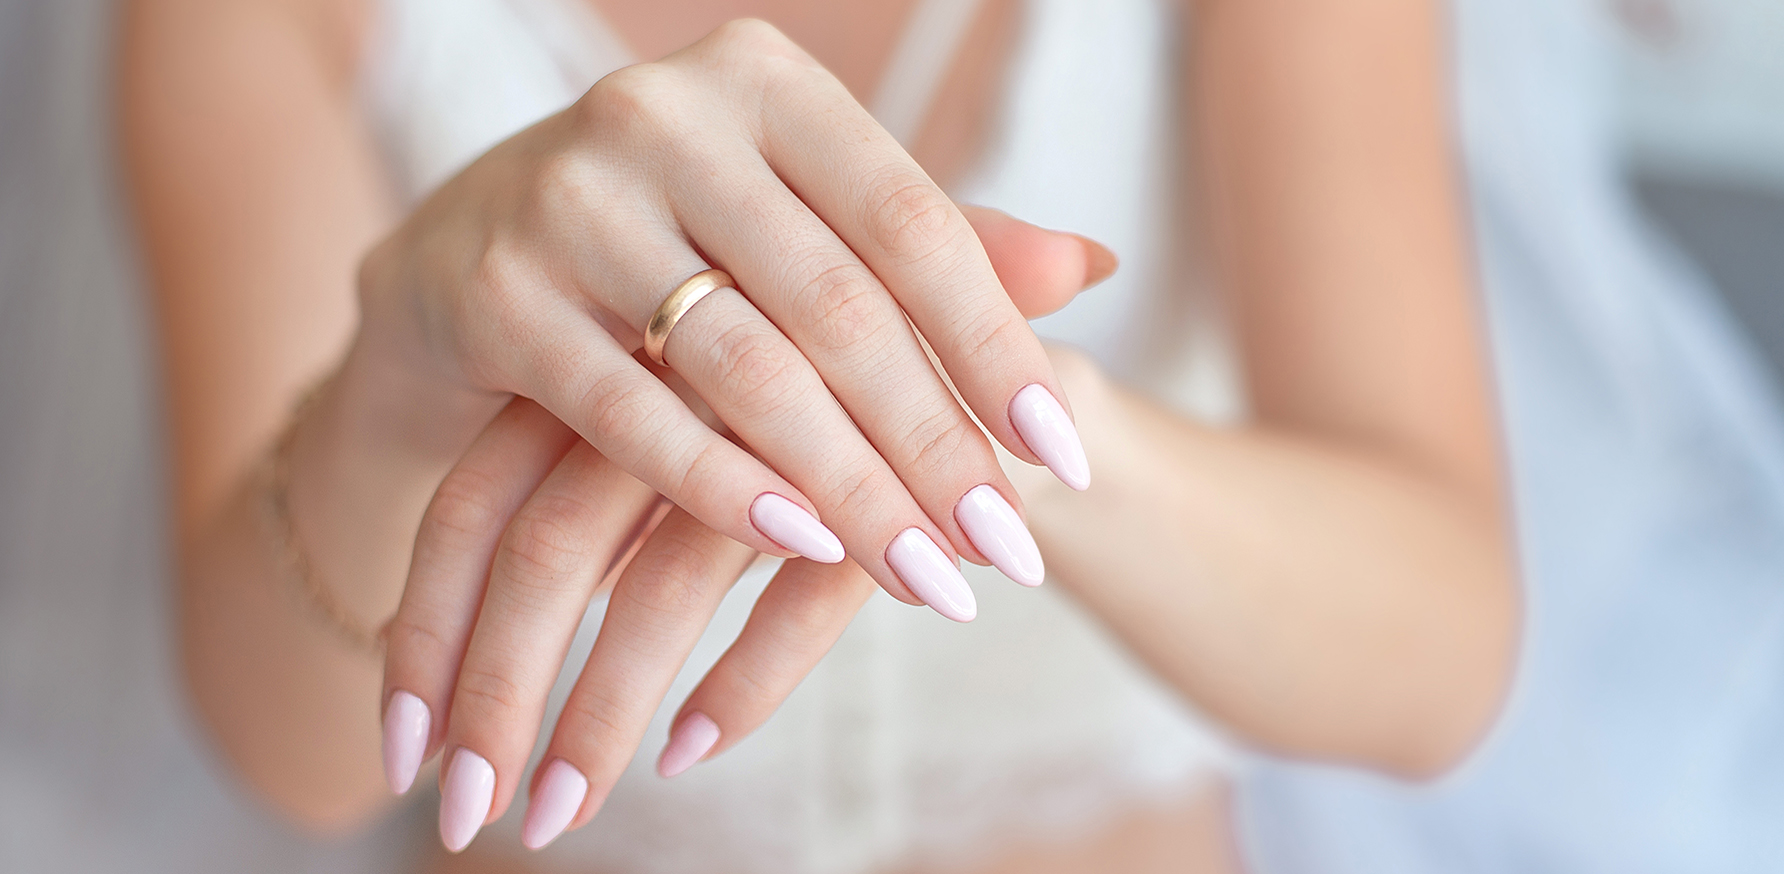
In case you’re completely new to the manicure world, let’s first explain what gel manicures are. A gel mani is a type of nail treatment that involves applying gel polish to the nails and then curing it under a UV or LED light. You’ll end up with long-lasting color, and chip-resistant nails. The manicure lasts for up to four weeks (most people get it redone after 2 or 3 weeks due to regrow), and you can apply the polish to your natural nails. The polish is thicker than regular nail polish, which means your nails will also be less prone to breaking.
DIY gel manicure
You don’t have to be an expert to do a DIY gel manicure at home. The process itself is similar to applying traditional nail polish. The most significant difference is the fact that you have to use a lamp to cure the nails, and that a base and top coat are mandatory (in most cases, but some companies also offer 3-in-1 polishes). Once you get the hang of it, you’ll have a lot more control over the end results than you would at a nail salon.
As someone who is familiar with both DIY and professional gel manicures, I have to warn you about one thing – doing the nails yourself is incredibly time-consuming. Especially if you’re a beginner. However, the amount of money you’ll save over time will make you forget about that. Talking about money, I have to give you another warning. Buying the equipment will be an investment, so only do that once you’re absolutely certain you want to switch to DIY manicures. Otherwise, you won’t be saving, but wasting money. So let’s go over all of the things you have to consider before making the transition.
UV or LED Light
Once you decide to buy the equipment you’ll notice that there are two types of lamps available: LED and UV. In my opinion, the better option would be to go for a UV lamp. They are safer, and they cure the polish a lot faster. But they are also more expensive. Considering the fact that a good LED lamp will last you for years, the additional money you’ll pay will be more than worth it.
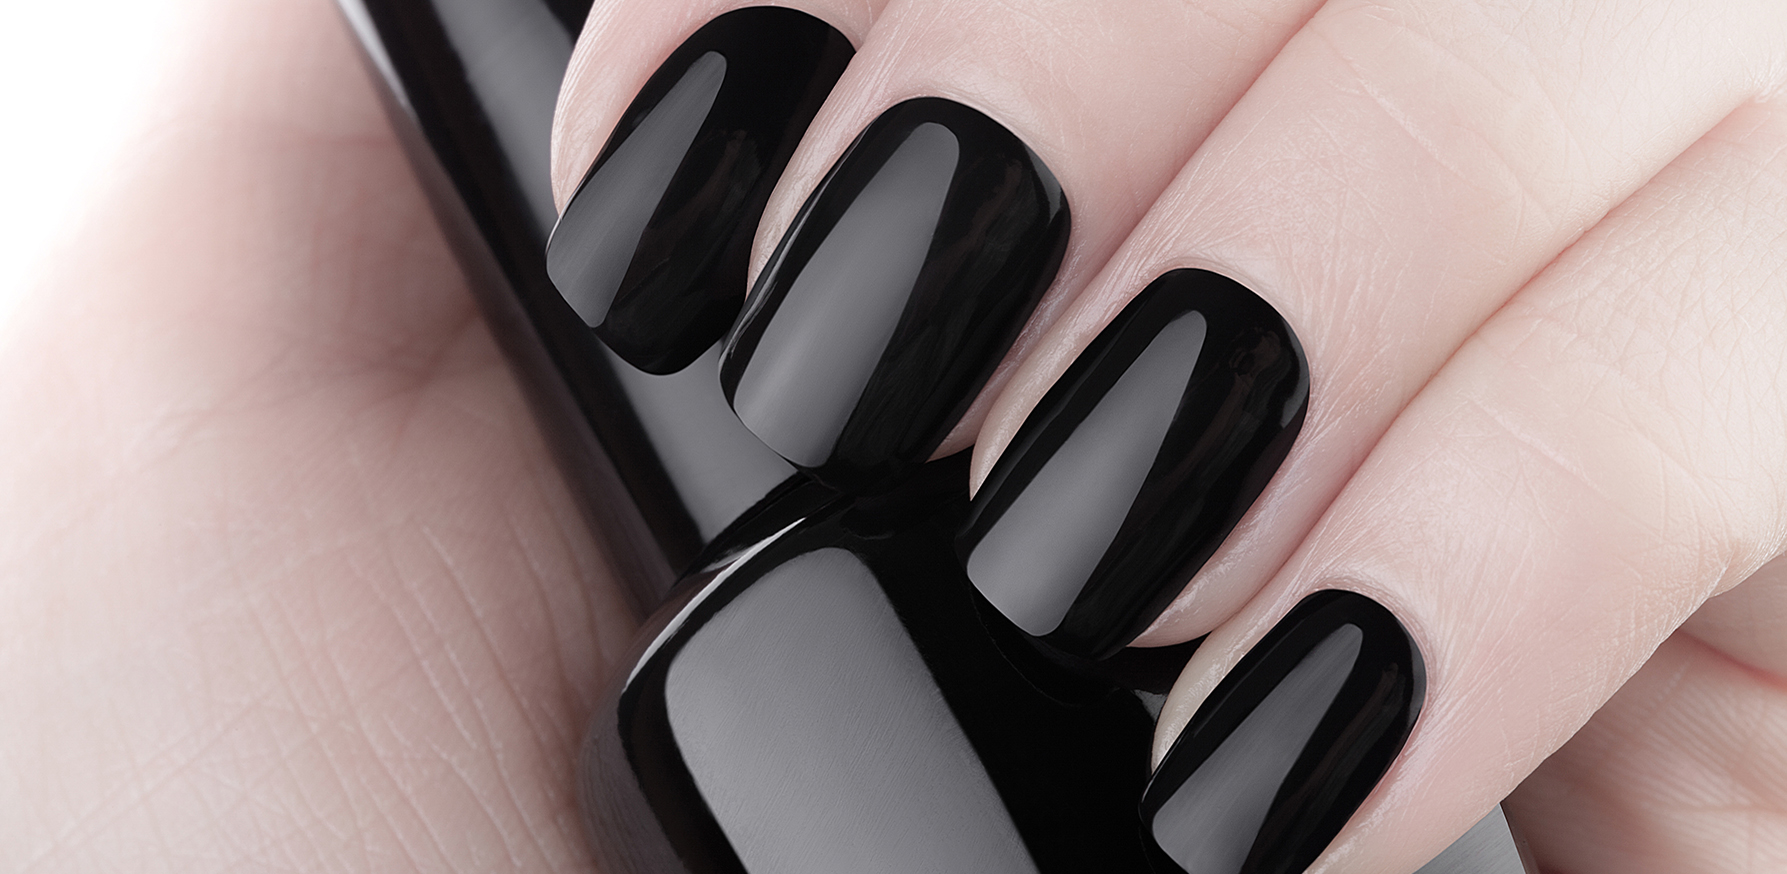
Choose the polish wisely
There are even more options when it comes to gel polish. You’ll notice that the prices will vary tremendously from brand to brand. Personally, I would stay away from suspiciously cheap nail polish. I used to order the cheapest possible polishes from Amazon, and most of my manicures wouldn’t last for even a week. If you have a limited budget, just make sure you’re buying a high-quality base and top coat, so that they protect the colored polish from chipping.
Additional tips
There are a few more tips you have to consider. My biggest one would be to be patient with yourself. You probably won’t do it perfectly on your first try. It will take some time and effort, but you’ll eventually get there. Also, don’t slack on preparing the nails. Make sure your nails are clean, dry, and free from any oils or residue before starting. You’ll also need to file and shape your nails and push back your cuticles before applying the gel polish.
YOU MIGHT ALSO LIKE
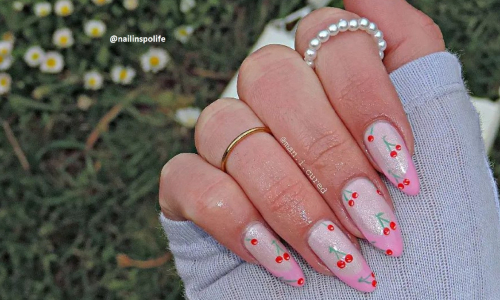
Enjoy Some Juicy Moments With Cherry Manicure Designs