How to Give Yourself a Manicure at Home: A Step-by-Step Guide
Giving yourself the perfect manicure can seem like knocking your head against a brick wall. That’s why most people go to get their nails done professionally. No matter how hard you try, you always fall short of those statement-making nail art designs you wish you could create at the end of the day. Doing your own manicure at home can be a messy thing if you are not familiar with the do and don’ts of it, but if you give it a try after having the proper information about what tools to choose and how they should be used, then it will not be a matter of concern anymore. The more you practice, the better you’ll get at giving yourself a manicure at home.
USEFUL TOOLS FOR AN AT-HOME MANICURE
- Tissue towel
- Nail Filer
- Shine Nail Buffers
- Coconut oil
- Base coat
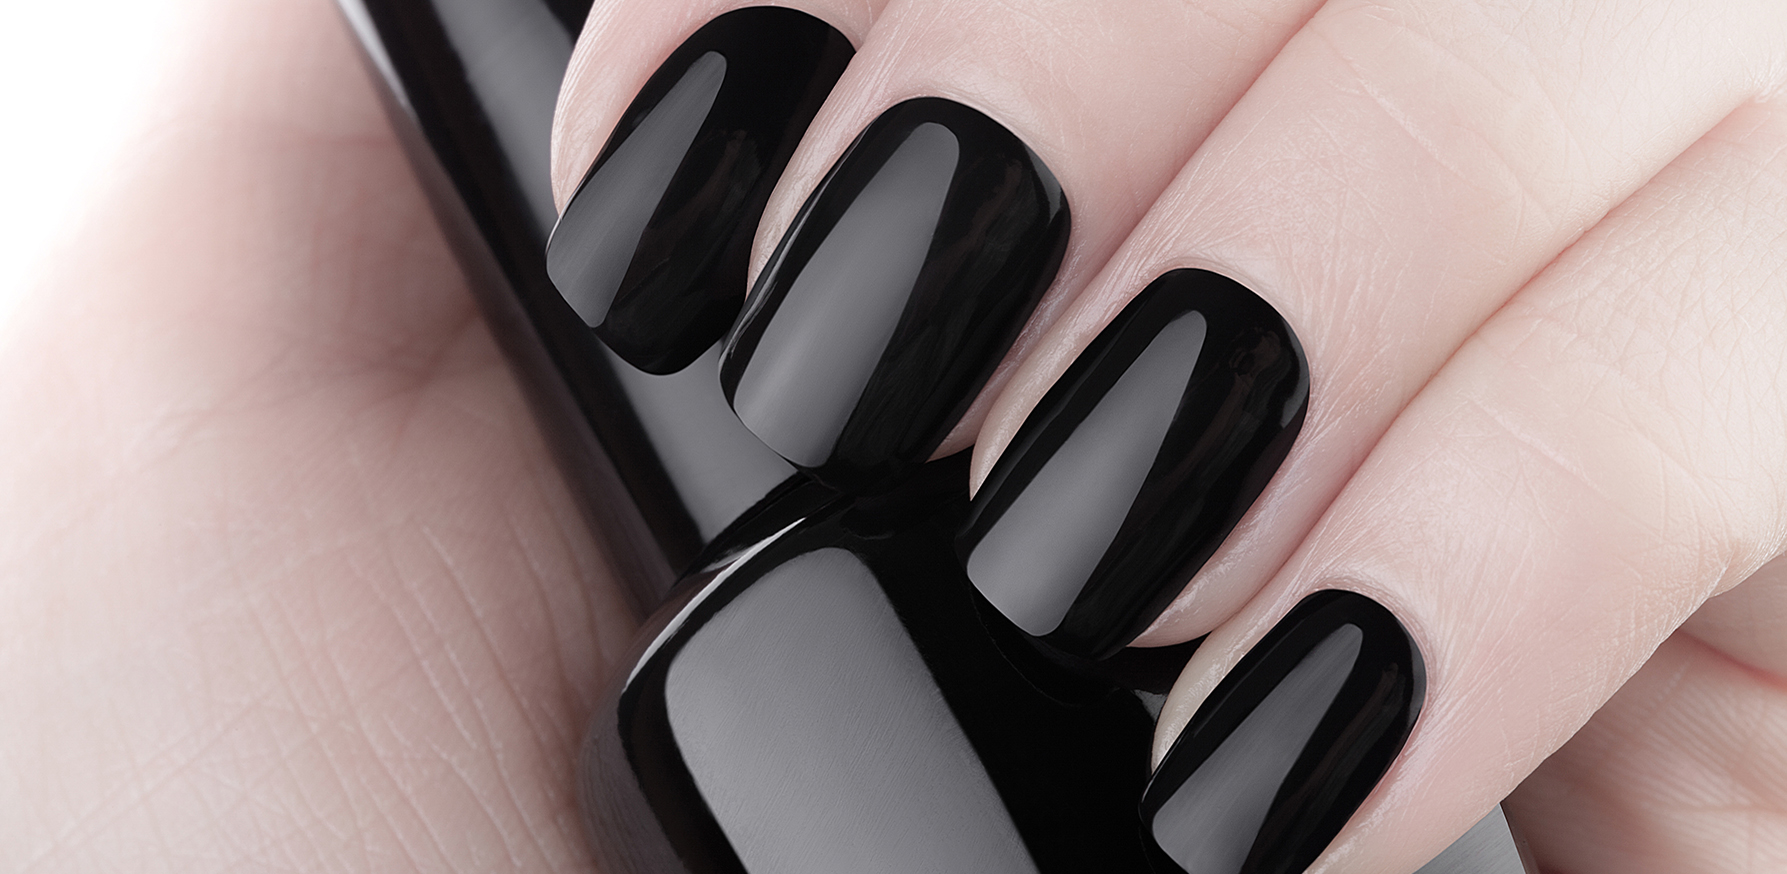
- Nail polish
- Nail polish remover
- Stick made of wood
- Cuticle pusher
STEP BY STEP GUIDE TO GIVING YOURSELF AN AT-HOME MANICURE
1. Remove the already applied nail polish
First of all, remove the previous nail polish completely with the help of nail polish remover and a tissue towel. Cotton balls are also in the market for the same purpose if you don’t want to apply nail polish remover separately on a paper/tissue towel. After removing all the old polish, clean your nails thoroughly.
2. Trim your nails and file
If you have long nails, then first cut them and then give them the desired shape you are looking for. To make sure that your nails have got smooth edges, file them with the help of the nail file. You can shape them in round, ovular, or square form. There are a variety of shape options to choose from.
3. Apply Buffer
Nail buffers are made of fine grit which are used for giving shine and smoothness to your nails. It’s like polishing your nails and removing the scratched surface of them. Simply rub the edges of your buffer gently on the nails.
4. Dip your hands in warm water
Next, soak your hands in a warm bowl of water to remove the dirt particles from the nails. But be aware of the fact that if you try to keep them in the water for more than 4 minutes, then it may cause damage to your skin and nails. So, keep your soak relatively short.
5. Push away the excess cuticle
It is necessary to push back the excess cuticles to give your nails a clean, shaped look. This whole step should be done gently. Don’t push them too hard or don’t try to get rid of them forcefully to keep your nails safe from any damage.
6. Apply base coat
After pampering your nails, now it’s time to apply the first coat which is the base coat. But before all this, make sure the surface of your nails is properly dry and oil free.
7. Apply the main nail polish
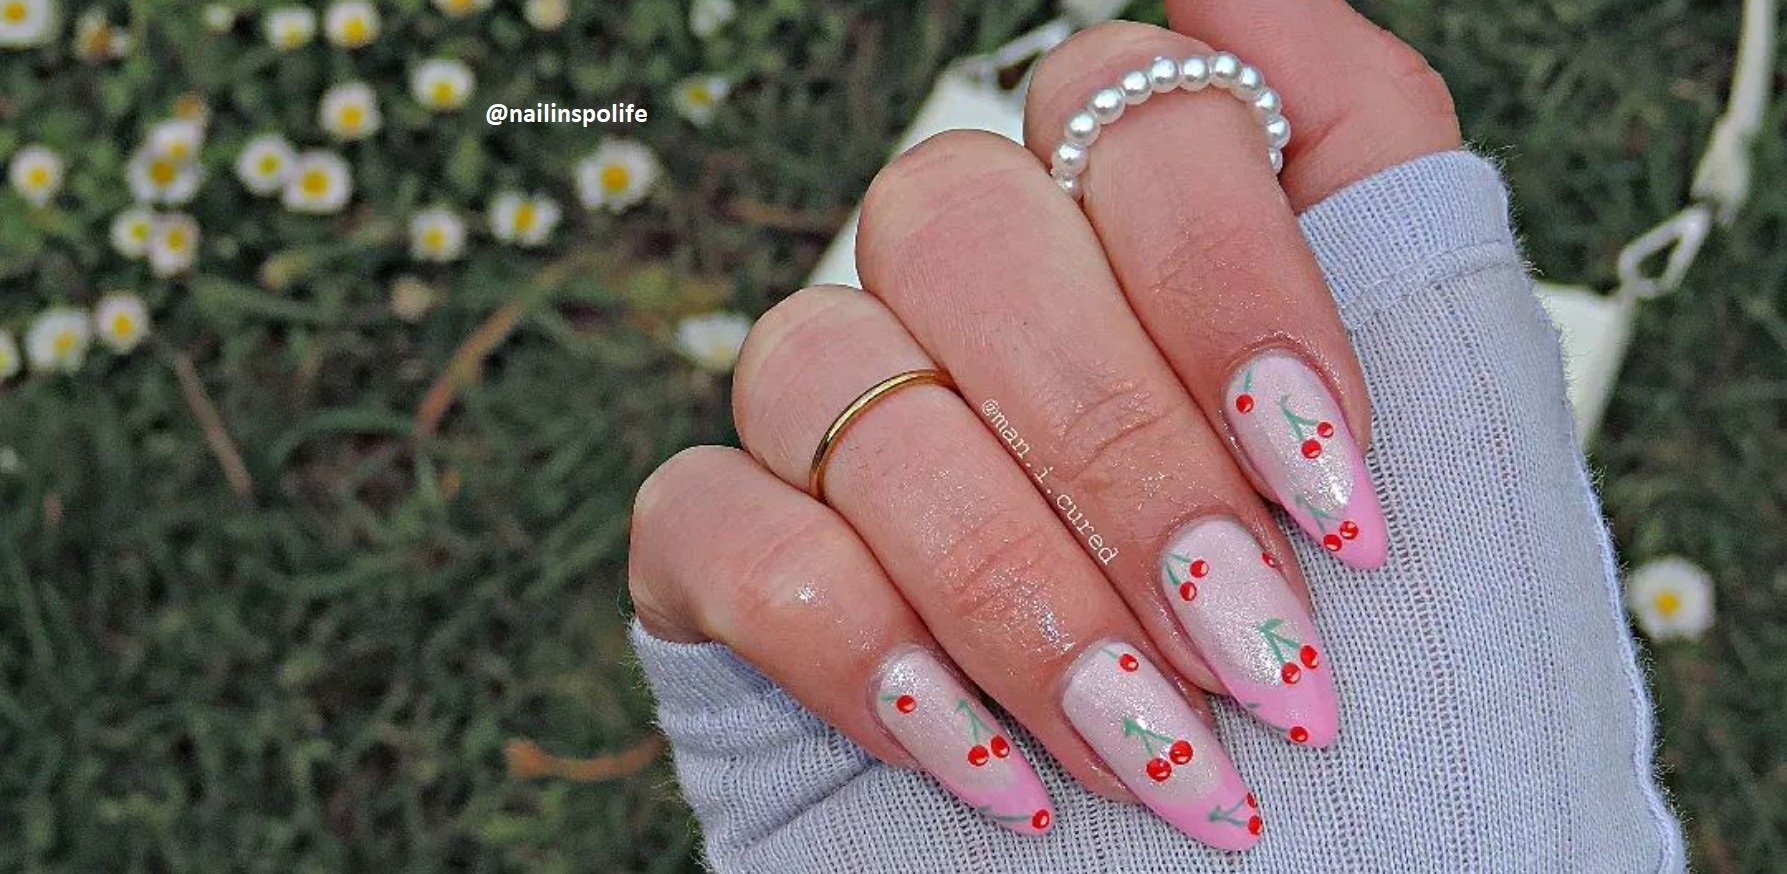
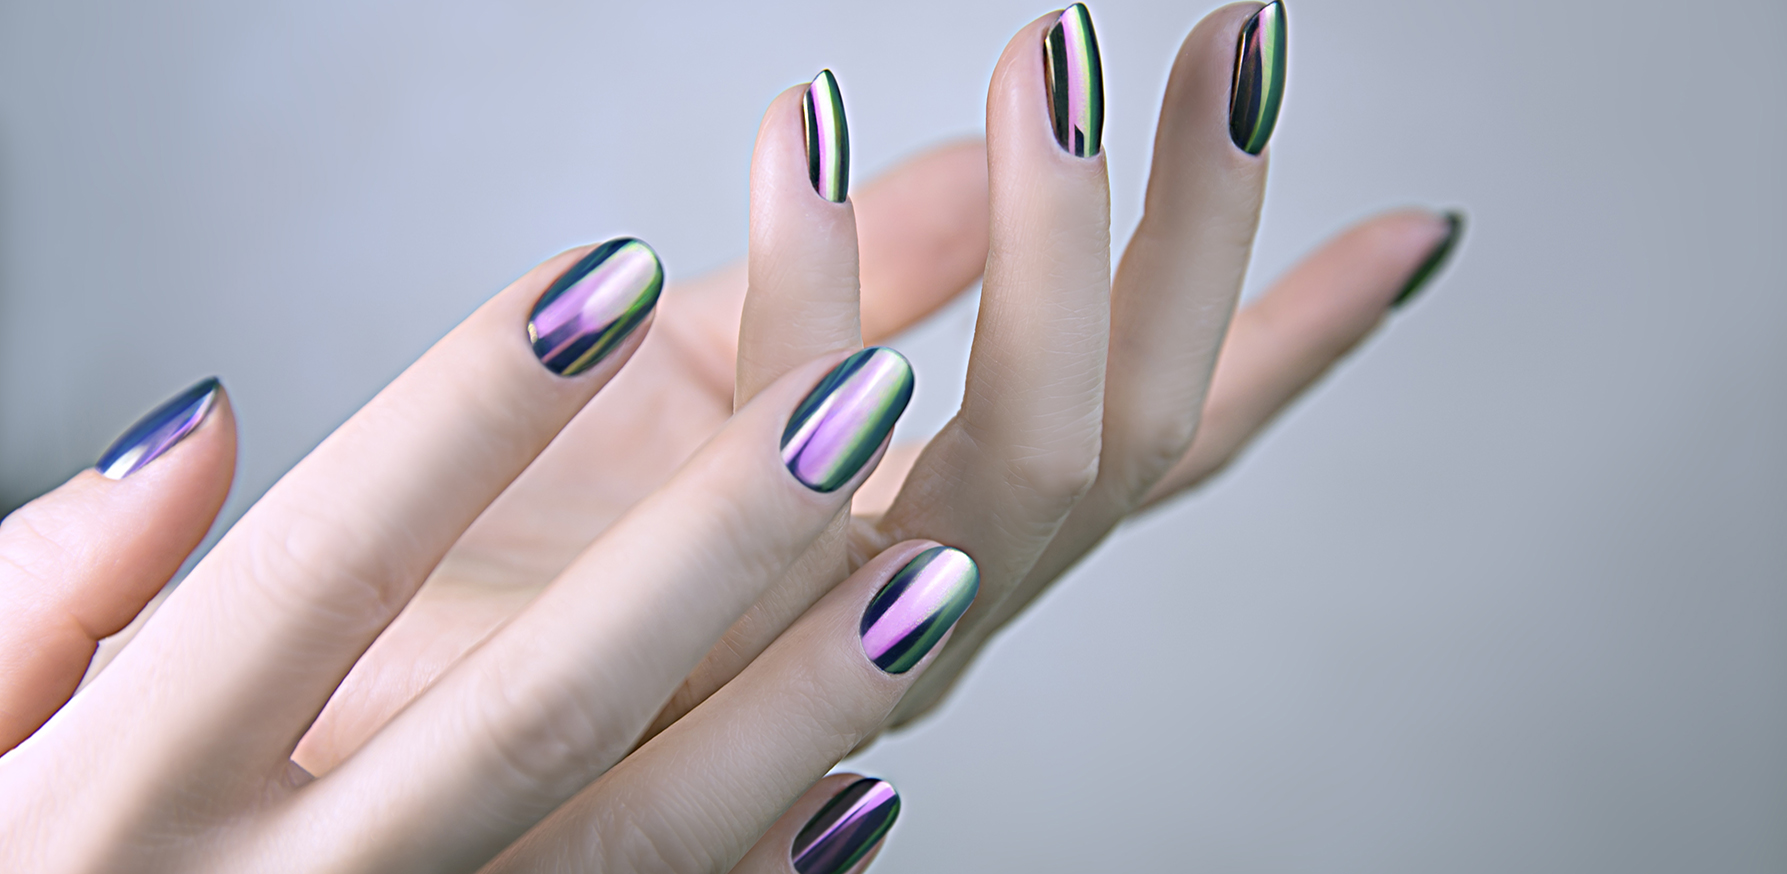
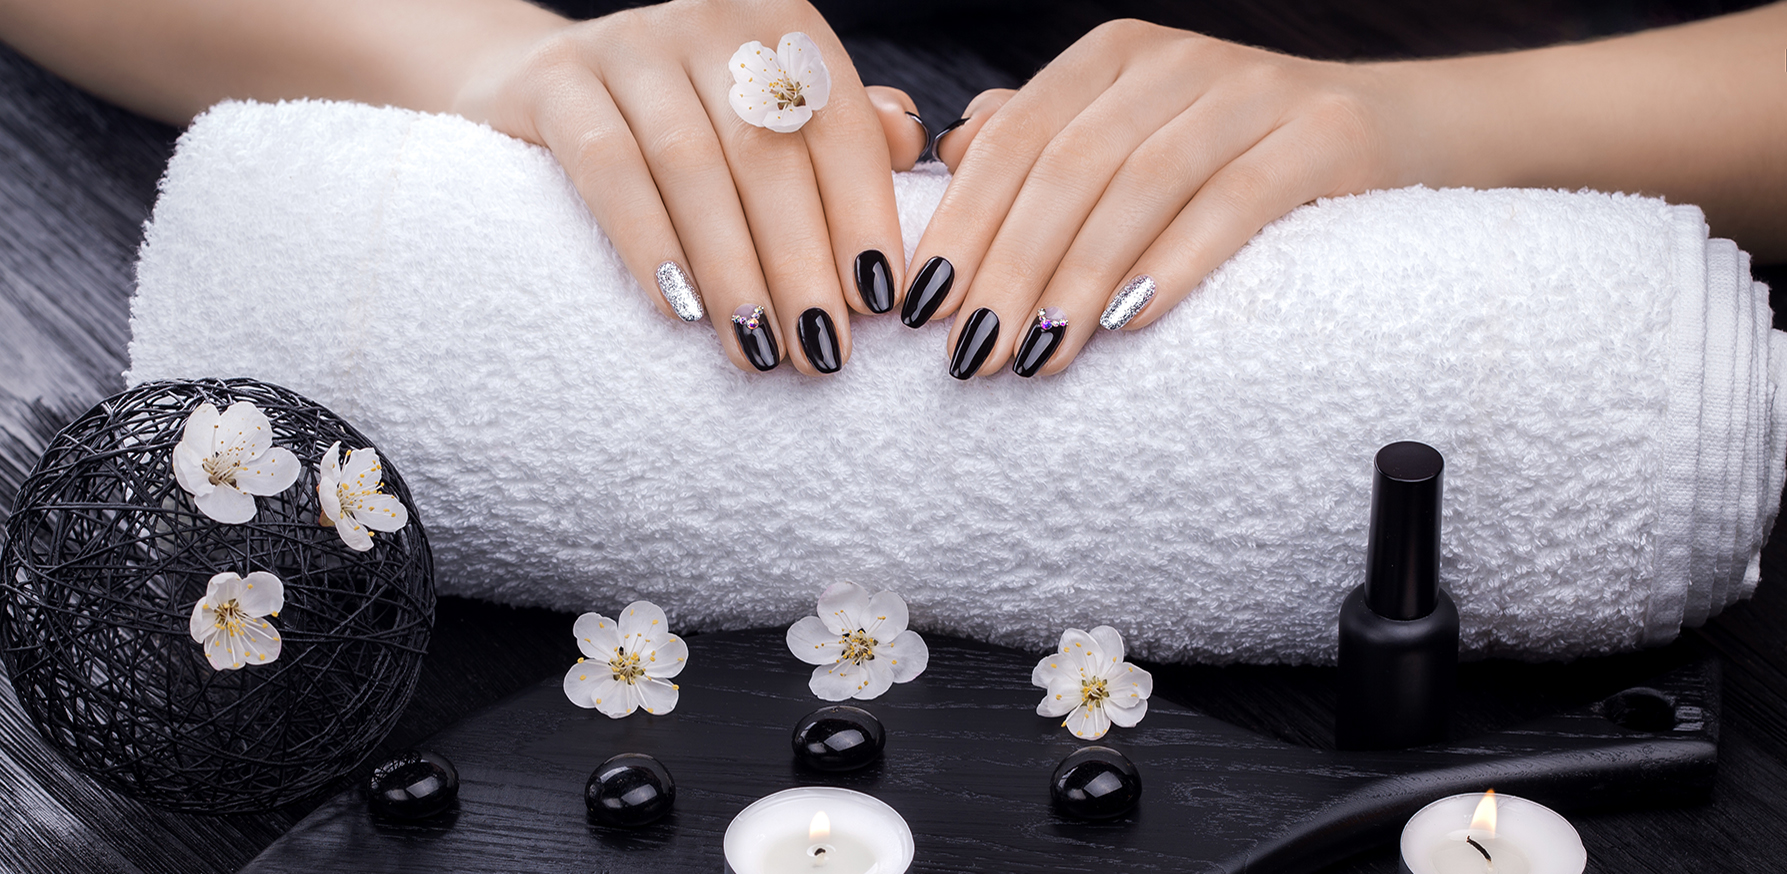
This is the last step to follow which will make your nails vibrant and beautiful. Don’t apply too many coats or layers of the nail polish. Doing so will make your nails dirty and create bumps on its surface. Beauticians recommend only two coats at a time. Finish up with a top coat, and you’re all set to take on the world with fresh nails!
YOU MIGHT ALSO LIKE:
From Classic to Vibrant: These Hair Colors are Trending in 2022